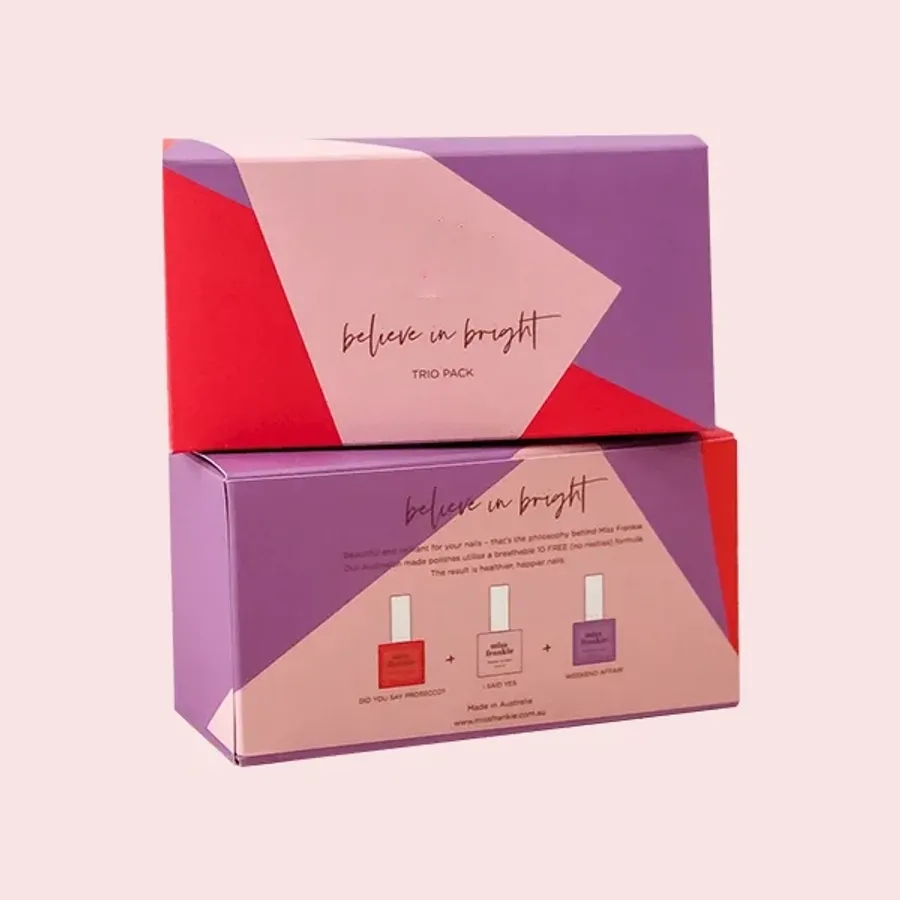
Nail brands and techs who post polish
Indie polish makers are the heart of this market. They release small batches of shades and ship them to collectors who buy every drop.
Gel polish brands ship color sets with base coat, top coat and sometimes a lamp. Press-on nail sellers ship flat trays of handmade sets.
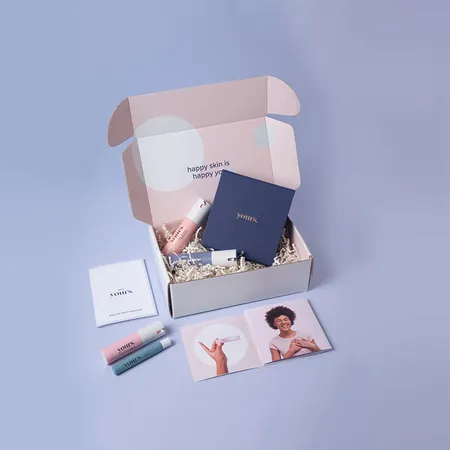
Nail salons and techs sell retail kits for clients to use at home between visits. Beauty subscription boxes include polish as a monthly extra.
Collectors judge a brand by its parcels. They photograph shades in the box, so layout and print matter as much as safety.
Nail art studios also order them for workshop kits. A student opens a box with polish, brushes and a practice wheel all in place.
Whoever the buyer is, the parcel is part of the product. A clean, ordered box tells collectors the polish was made with the same care.
Why polish bottles need separate cells
Two glass bottles touching in a box will clink with every bump. Over a long trip that can chip glass or crack a cap.
Bottles lying flat can also seep at the neck. Thick polish around a loose cap dries and seals the bottle shut, or leaks and stains.
A divider grid solves both. Each bottle stands upright in its own cell with a wall of corrugated board on every side.
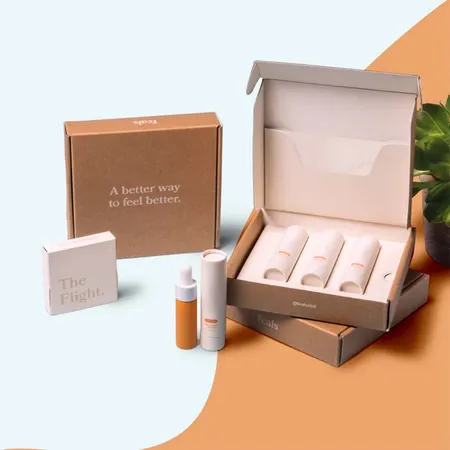
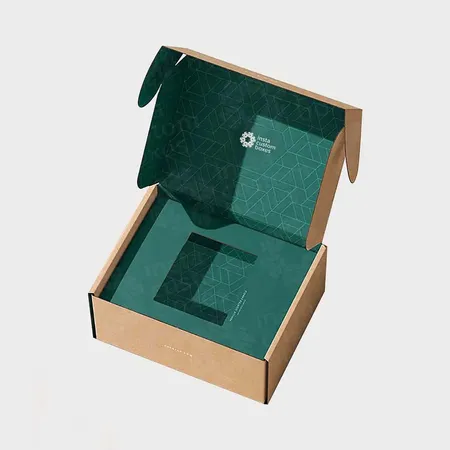
Our mailer boxes with fitted inserts show the other insert types, from cavities to raised platforms.
Upright cells also keep the brush wet. A bottle stored flat for days can leave polish drying around the brush stem.
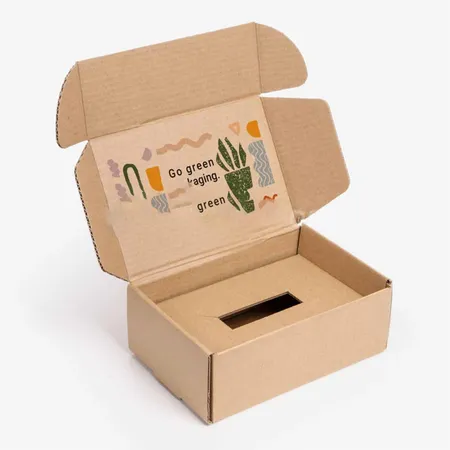
Designing the inside of the lid as a swatch card
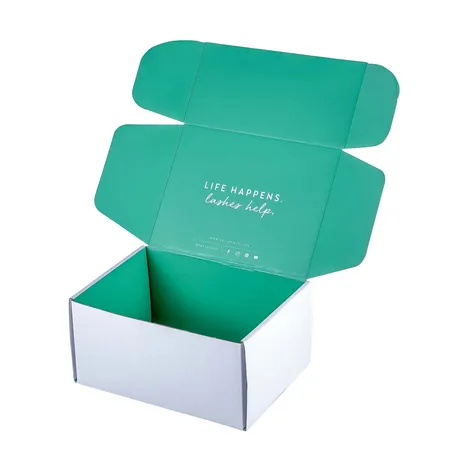
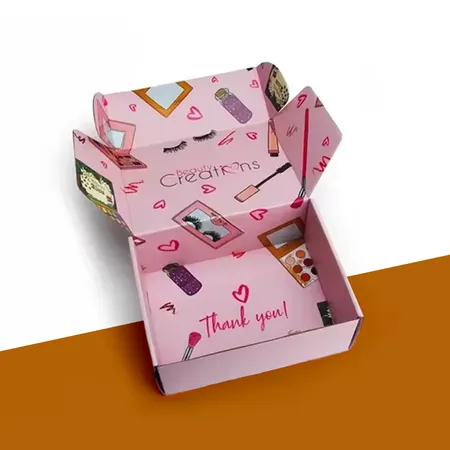
Polish customers want to see color before they open a bottle. The inside of the lid is the ideal place to show it.
Print a swatch for each shade above its cell, with the shade name beside it. Customers then match bottle to color at a glance.
Printed swatches are close guides, not exact matches to wet polish. Tell customers that in a short line on the lid.
Our tips on designing a mailer box from scratch explain how to set up inside panels on a dieline.
Keep shade names in the same order as the cells on the proof. A mismatch between swatch and bottle is the one error collectors always spot.
- A swatch dot and shade name above each bottle.
- Collection name and release month on the inside flap.
- Short application steps for gel kits.
- A small line asking customers to store polish upright.
- Your social handle for shade photos.
Kits that mix bottles and flat items
Gel kits often include a file, a cuticle pusher and wipes. Press-on sets come with glue tabs and a mini file.
We add a flat pocket under or beside the grid for these. Tools then stay apart from glass bottles.
If a kit includes an LED lamp, the box size changes a lot. Send its measurements early so the layout starts from the largest item.
Our wider range of cosmetic shipping boxes may suit kits built around a larger device.
Cuticle oil pens and nail stickers fit the same flat pocket. Group the small extras so nothing rattles under the grid.
Board choice for glass bottles
A single bottle in a snug cavity can travel in SBS paperboard. It is light and prints finely.
Once you ship three or more bottles, choose E-flute corrugated. The extra weight of glass needs the fluted core to spread impacts.
Use a corrugated grid even inside a paperboard mailer. The grid walls are what keep bottles apart.
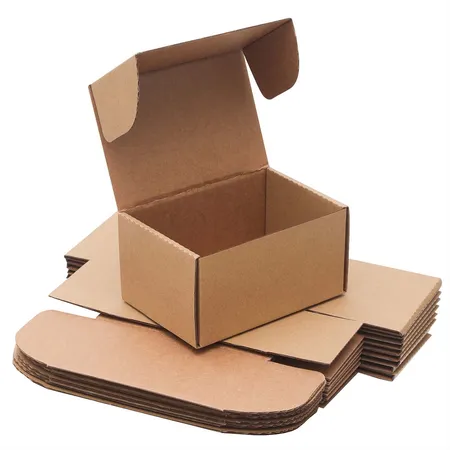
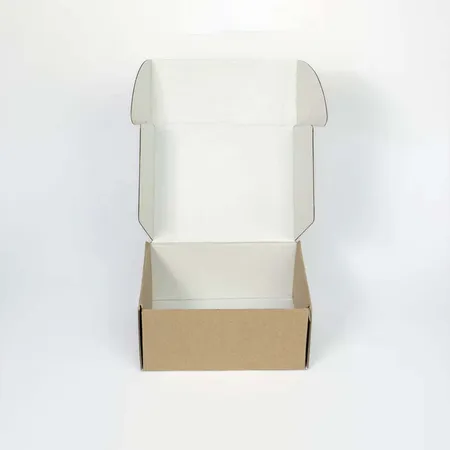
Kraft corrugated suits brands with a natural or vegan story. White liners make bright polish photos look truer to life.
For a stronger shelf presence in salons, compare these builds with our display mailer boxes for counters.
Print and finish choices for nail brands
Nail brands often use bold color and glossy effects. Gloss lamination and spot UV echo the shine of polish itself.
Pastel and nude collections look softer with matte lamination. Holographic shade names can be picked out in foil.
If you release limited shades often, print a core box and add a collection sticker. That saves a new print run for each drop.
Finish options are listed in full on our mailer box colors and finishes collection.
Keep text on dark boxes larger than you think. Fine type in light ink on black can blur at small sizes.
Packing polish so it arrives clean
Screw every cap down firmly before packing. A cap that is even slightly loose can seep under pressure changes in transit.
Wipe the neck of each bottle clean. Dried polish on the thread stops the cap closing fully.
Drop each bottle straight down into its cell, base first. Bottles pushed in at an angle can tear the grid wall.
A small poly bag around each bottle is worth it for very runny formulas. If one seeps, the stain stays in the bag.
Store finished stock away from heat while it waits for packing. Warm polish thins and is more likely to seep past a cap.
Proof, production and shipping
Send bottle sizes, shade names and your logo. Our team draws the grid and the swatch panel on your free digital proof.
Revisions are unlimited, so check every shade name spelling before approving. Production runs 4–6 business days afterward.
Flat boxes ship free to the US, UK, Canada and Australia, arriving in 2–3 business days. Prices start from $0.30 per unit, confirmed on your nail polish mailer quote.
Plan launches backward from your release date. Add proof time, production and delivery so boxes land before preorders ship.
Misprints, damage and contact details
If any boxes arrive misprinted or damaged, let us know within 10 days. Our reprint and refund policy page covers how we put it right.
Reach the team on (503) 461-4788 by phone or WhatsApp. Email works too, at info@shopmailerboxes.com.
Send photos of any damaged cartons with your report. Clear photos let us arrange the reprint faster.