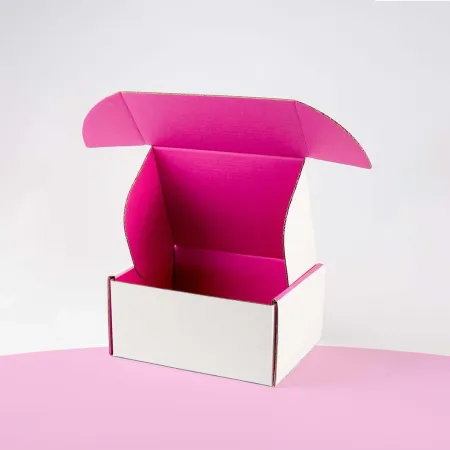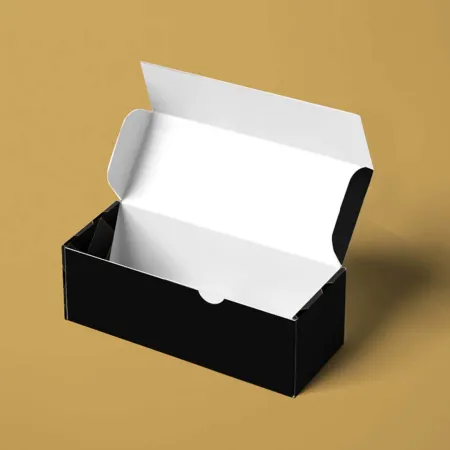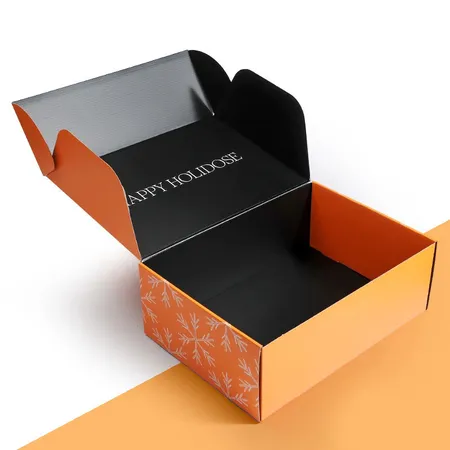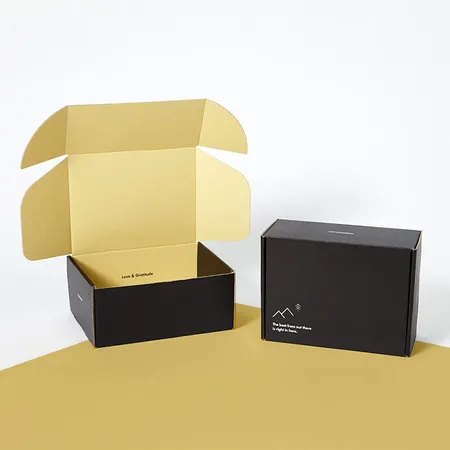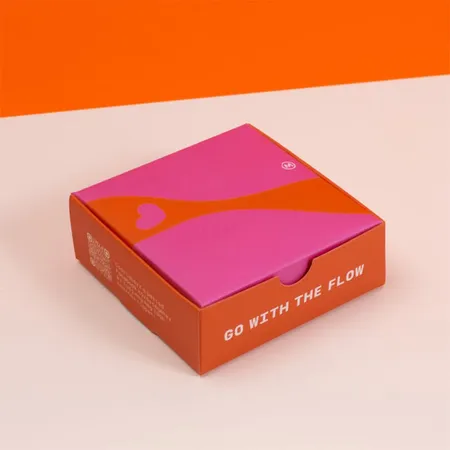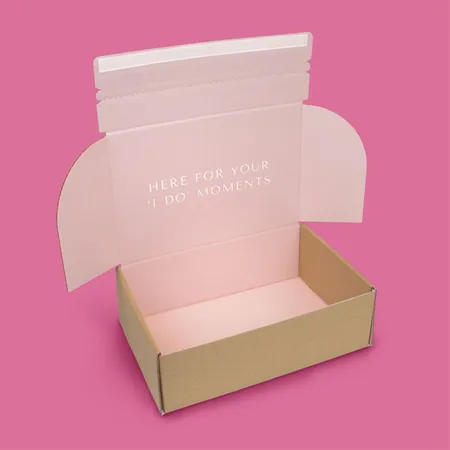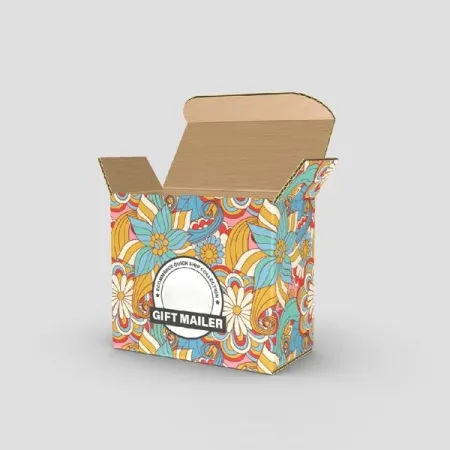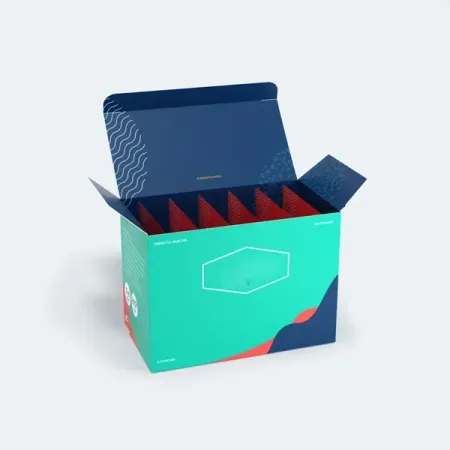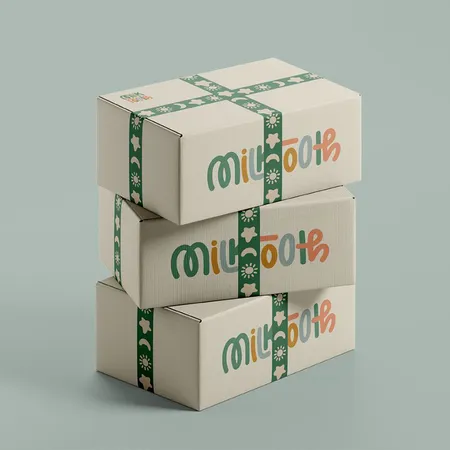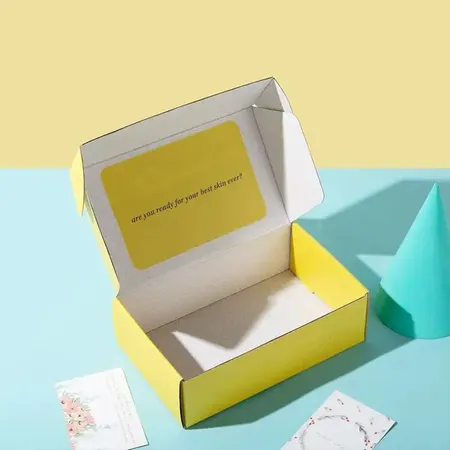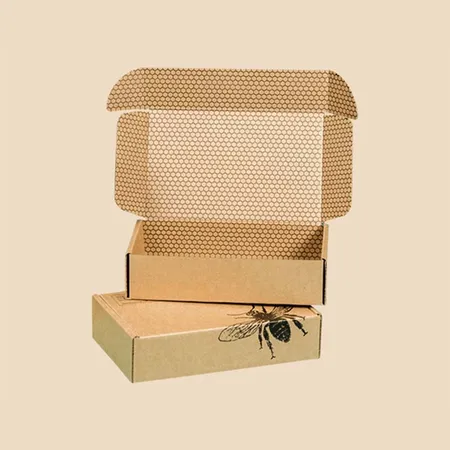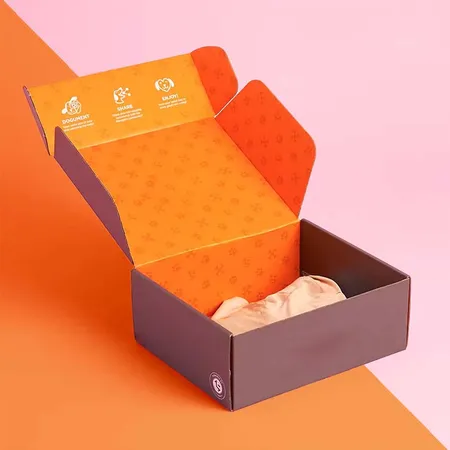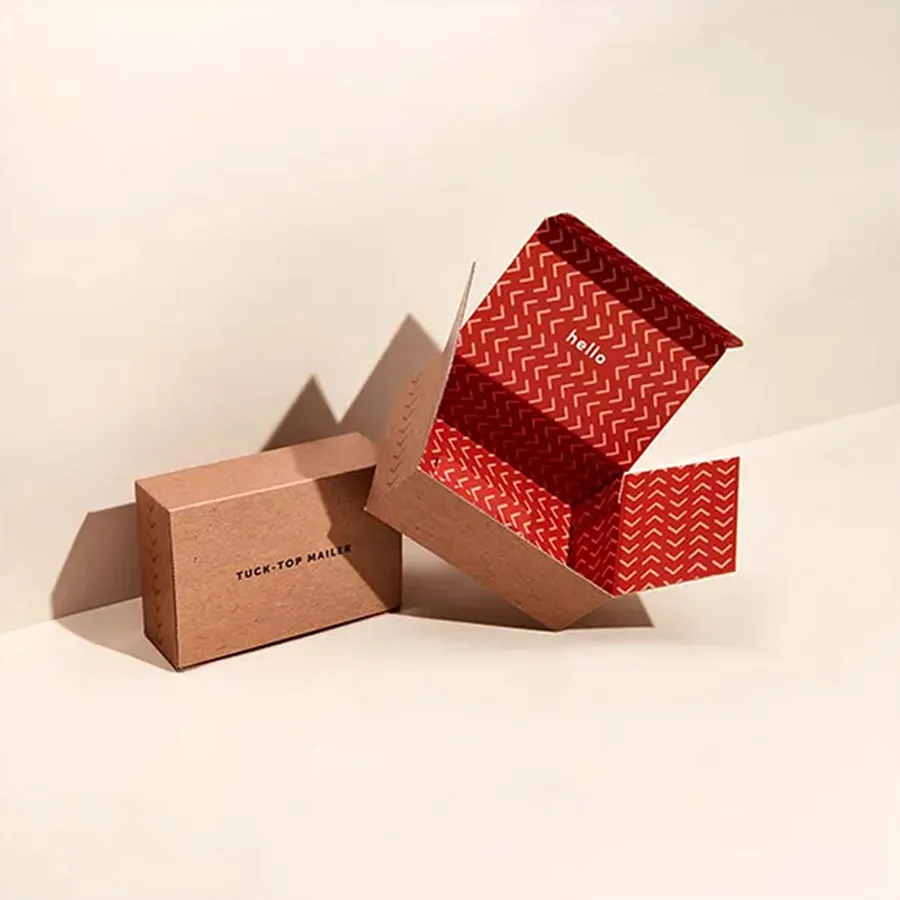
Brands that pick a tuck top lid
Tuck top mailers suit products that get opened, closed and opened again. Subscription boxes, sample kits and stationery sets fall into that group.
Clothing brands like them for folded tees and scarves. The lid lifts to show the garment flat, with no flaps in the way.
Small beauty and wellness sellers use the paperboard version for light items. It feels like a retail box but still ships on its own.
Will the box live on a shelf or desk after delivery? Then the reclosable lid is the main reason to pick this style.
Corporate gifting teams order them as well. A welcome kit for new staff often holds a notebook, a pen and a mug, and gets reused for desk storage.
The parts of a tuck top mailer
The box is cut from one sheet. When it is folded, each part has a job.
Knowing these names makes proof feedback easier. You can say the tuck flap text is too close to the fold, and we know exactly where to look.
- Back hinge: the fold where the lid joins the box and swings open.
- Lid panel: the large top face where most brands put their logo.
- Front tuck flap: the tongue on the lid edge that slides inside the front wall.
- Dust flaps: small side flaps on the lid that keep dust and light out.
- Double side walls: folded panels that add strength and hide raw edges.
- Base panel: the floor, which can carry a printed message or a barcode.
Tuck top compared with other closures
Buyers often ask how a tuck top differs from the other mailer styles we make. The short answer is the way the lid locks.
The table lines up the main closures we offer. For drawings of each one, browse our full set of mailer box styles.
| Closure | How it locks | Best when |
|---|---|---|
| Tuck top | Lid flap tucks into the front wall | The box is reopened often |
| Roll end tuck front | Lid tucks in, sides roll over for double walls | You want thick, sturdy walls |
| Ear lock | Side ears slot into the lid | You want a snug lock with no tape |
| Self seal | Peel-and-seal strip under the lid | Speed at the packing table matters |
| Side loading tab lock | End tab tucks into a slot | The product is long and flat |
How firmly the lid stays shut
The tuck flap holds by friction against the front wall. On corrugated board, that friction is strong enough for most light and medium products.
We size the flap a little longer on heavier boxes so it grips deeper. A thumb notch on the front wall then makes the lid easy to lift.
For parcels going through carrier sorting, add a self seal strip or a printed sticker across the front. The tuck still works after the seal is broken.
That mix gives you a secure trip and a reusable box afterward. Many subscription brands use exactly this setup.
Very heavy items are a different story. For a dense, weighty product, a roll end tuck front or ear lock gives a stronger hold.
Corrugated or paperboard for the tuck
The board changes how the lid feels when it tucks in. E-flute corrugated gives a firm, clean snap and stands up to shipping on its own.
B-flute is thicker and better for heavier items. The tuck flap needs a little more room on B-flute, which we allow for on the dieline.
SBS or kraft paperboard in 18–24 pt makes a slim, crisp tuck. It works best for light products or boxes that travel inside an outer carton.
White ink on kraft is also possible with any of these boards. It lets a light logo show clearly on the brown lid.
Our comparison of corrugated and paperboard mailer board covers weight, print and feel in more depth.
Where your print shows on a tuck top
The lid is the hero panel. It is the first thing the customer sees and the largest flat area on the box.
The front tuck flap shows only when the lid lifts. It is a good spot for a short greeting or your website.
Inside the lid is the second hero panel. It is seen at the moment of opening, so brands put a thank-you message or care tips there.
Keep logos away from the back hinge and the tuck fold. Folds can crack ink slightly, especially on dark flood colors.
The base panel is often left plain. Some brands use it for a batch code, a QR code or a return address instead.
Getting the depth right for a clean tuck
A tuck top lid only closes flat when the product sits below the top of the walls. If the item stands proud, the lid bows and the flap pops out.
Measure the tallest point of your product, including any tissue or insert. Then add a small allowance for packing material.
Too much depth causes the opposite problem, with items sliding around inside. A fitted insert fixes that without changing the box size.
If you are unsure, our mailer box sizing guide walks through measuring for length, width and depth.
Soft goods like folded clothing compress a little, so their depth can be snug. Hard goods like jars or tins need the full height plus a small gap.
Ordering a tuck top mailer step by step
Most tuck top orders follow the same path from first message to delivery.
Steps three and four matter most for this style. A seal strip or insert changes the dieline, so decide before artwork begins.
- Send your product size, weight and how many items go in each box.
- Choose corrugated or paperboard and a white or kraft liner.
- Decide whether you need a self seal strip or an insert.
- Get a dieline marked with the lid, tuck flap and hinge.
- Add your artwork to the outside and inside panels.
- Approve the free digital proof once it looks right.
- Receive your flat-packed boxes ready to fold.
Folding and packing at your table
Tuck top mailers arrive flat to save space in your storeroom. Each one folds by hand in a few seconds, with no glue or tools.
Fold the side walls up first, tuck their tabs into the base, then drop in the product. Close the lid and slide the flap into the front.
New packers get the hang of it after a handful of boxes. Keep one folded sample on the bench as a guide.
Fold the first few boxes slowly when your run arrives. They show your team how the tuck flap should sit before the pace picks up.
Packing hundreds a day? Fold a batch before the shift starts and stack them open side up. You can also talk to our packaging team about a layout that folds faster.
Finishes that suit a lid people touch
Because the lid is handled every time the box opens, its finish matters more than on single-use mailers.
Soft-touch lamination gives a velvety feel and resists light rubbing. Gloss lamination is tougher on scuffs and makes color look rich.
Spot UV or foil on the lid logo catches light when the box sits on a shelf. Embossing adds a raised edge you can feel under the thumb.
Our printing and finishing guide explains how each option behaves on board.
Aqueous coating is a lighter option for kraft lids. It keeps the natural paper feel while adding some resistance to marks.
From approved proof to boxes on your bench
Design help and the digital proof are free, and revisions are unlimited. We do not print until you say the proof is final.
Production runs 4–6 business days from approval. Transit then takes 2–3 business days, with free delivery across the US, UK, Canada and Australia.
Damaged or misprinted tuck tops reported within 10 days are reprinted or refunded. Keep one carton unopened until you have checked a sample box.
Ready to price yours? Request a tuck top mailer quote with your size and board choice.