Brands that pick a shiny finish
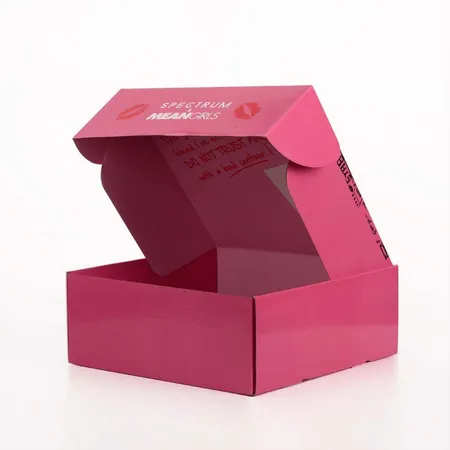
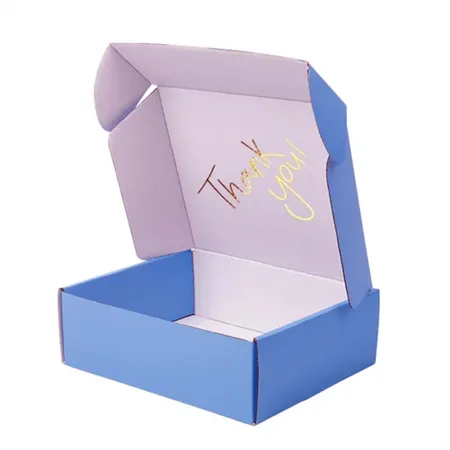
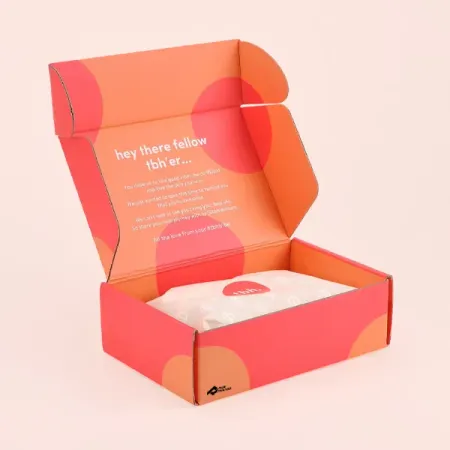
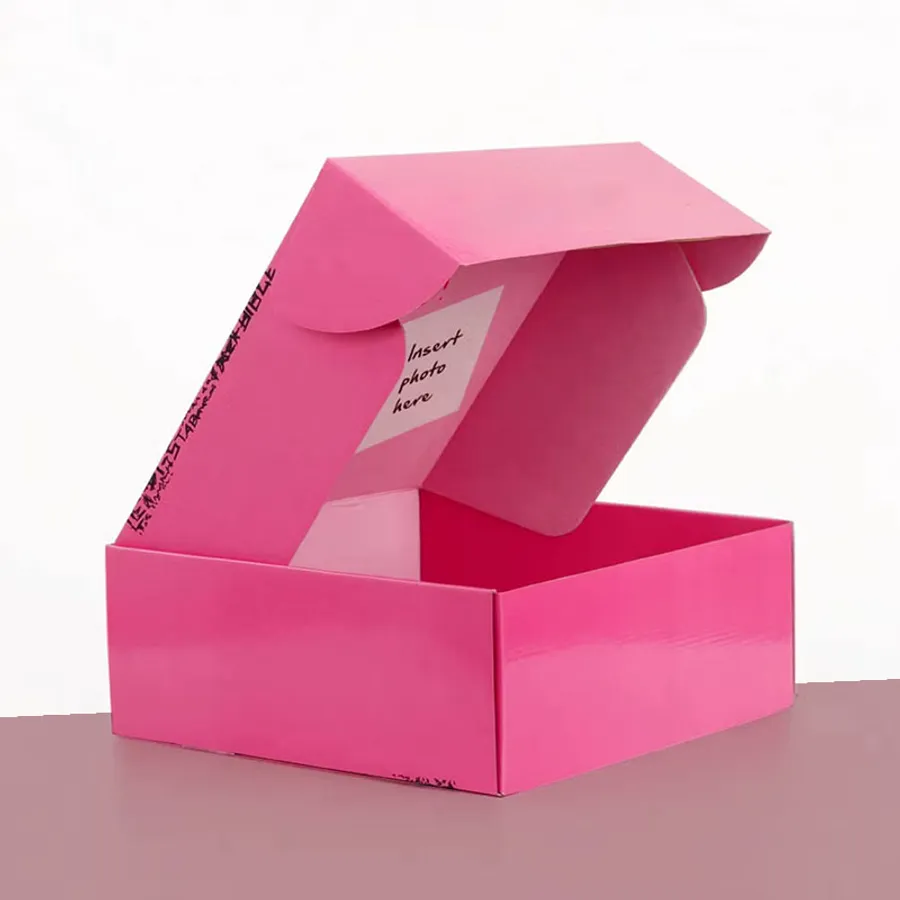
Beauty and cosmetics brands choose gloss often. Bright pinks, reds and metallic-looking prints look rich under a shiny layer.
Toy and gift brands like it for the same reason. Full-color illustrations and photos look crisp and lively.
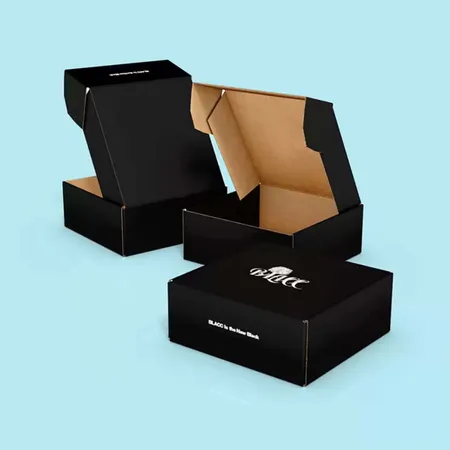
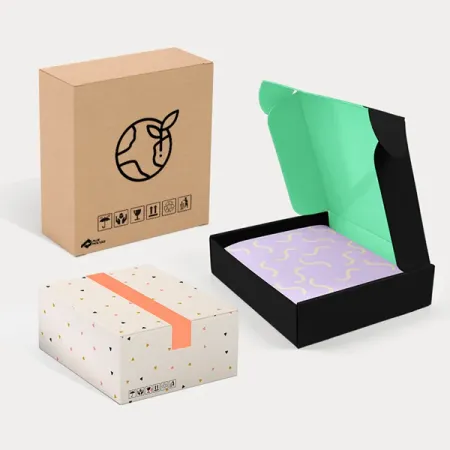
Fashion and streetwear labels with bold graphics also use it. A glossy black box with a bright logo makes a strong statement.
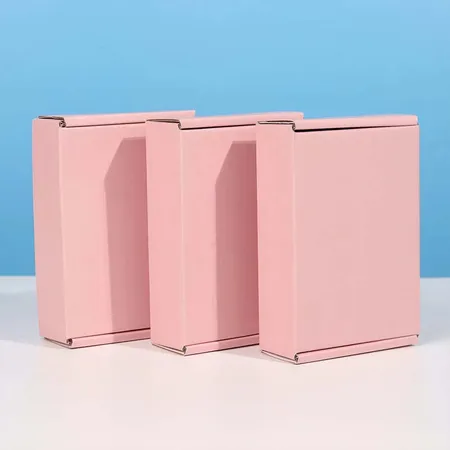
Candy-colored brands get a lot from gloss too. Bright pastels with strong outlines keep their punch under the shine.
If your colors are soft and muted, gloss may not be the best match. Our colors and finishes collection shows matte and soft-touch options beside it.
What a gloss layer does to printed color
Ink on bare board absorbs light and looks slightly flat. A gloss layer reflects light back, so colors look deeper and blacks look darker.
Photos gain contrast and fine detail looks sharper. That is why most product photography prints look best with gloss.
The trade-off is glare. Under bright light, parts of the lid reflect a shine that hides the print beneath it.
Gloss also changes how a color matches your brand guide. A swatch printed on uncoated paper will look a little darker under shine, so judge colors on a glossy sample.
Gloss lamination or gloss aqueous coating
There are two main ways to get a shiny box. Each gives a different depth of shine and level of surface protection.
Gloss lamination is a thin film bonded over the print. It gives the deepest shine and the most scuff resistance.
Gloss aqueous coating is a water-based layer applied on press. It adds a lighter shine at a lower cost.
| Finish | Shine level | Scuff resistance | Good fit |
|---|---|---|---|
| Gloss lamination | High | Strong | Premium retail and gift boxes |
| Gloss aqueous coating | Medium | Moderate | Everyday shipping volume |
| Spot UV on matte | High in spots only | Spot areas only | Logos and patterns that pop |
| No coating | None | Low | Kraft and natural looks |
Preparing artwork that suits gloss
Gloss rewards strong color. Saturated tones, high contrast and rich blacks show its full effect.
Gradients look smooth under gloss, and fine illustration lines stay crisp. Busy art with many small elements can look noisy, though, so give key elements room.
Use a rich black mix for large dark areas rather than plain black. Plain black can look grayish even under gloss.
Very pale artwork gains little from shine. Our printing and finishes guide explains how each coating changes different colors.
- Supply images at full print resolution.
- Use rich black for large dark backgrounds.
- Keep text in high contrast against busy photos.
- Ask for a Pantone match on brand colors that must stay exact.
Adding foil or spot UV to a glossy box
Foil stamping sits on top of gloss lamination well. A gold or silver logo on a glossy dark box looks sharp and clean.
Spot UV works best on a matte base, not full gloss. On a fully glossy lid the shine of the spot blends into the rest.
Embossing also pairs well with gloss. The raised area catches light along its edges, so the shape stands out.
Brands building a premium line often stack these extras. Our luxury mailer boxes with premium finishes show how gloss, foil and embossing combine.
Keep extras to one or two per lid. Too many effects compete, and the box starts to look busy.
Glossy outside, plain or printed inside
The inside of a mailer does not have to match the outside. Many brands put gloss on the outside and leave the inside uncoated.
An uncoated inside is easier to write on. Some sellers add a handwritten note directly on the lid.
Stickers and tape also hold better on uncoated board. That helps if you seal tissue paper to the inside.
A printed inside can carry a matching gloss coat if you want both surfaces to shine. Ask us about the board choice, since coating both sides changes how the box folds.
Glare, wear and product photography
Gloss shows smudges less than dark matte, but it does show glare. That matters if your boxes appear in product photos or videos.
Shoot glossy boxes in soft, indirect light. A window with a sheer curtain works better than a ring light pointed straight at the lid.
A quick wipe with a dry soft cloth clears any marks from handling. Avoid wet cloths on the folded edges.
For social posts, angle the box slightly away from the light source. A small tilt removes most hot spots from the lid.
A laminated lid resists rubbing on sorting belts and inside mail sacks. Small marks often wipe away rather than scratching into the ink.
Coated boxes are a step down in protection. Light scuffs can show on dark colors after a long trip, so pick lamination for dark designs that travel far.
Corners and fold lines see the most wear. A crease through dark gloss can show a fine white line where the board bends.
If wear concerns you, ask about lighter background colors. Our white mailer boxes with bright print hide edge wear better than dark designs.
Glossy finish on white, black and kraft boards
White corrugated liner and SBS board show gloss at its best. Every color sits on a bright base.
Black boxes look especially rich under gloss. Our printed black mailer boxes page shows how a dark lid pairs with a shiny finish.
Kraft board gains less from gloss. The brown base absorbs some of the shine, and many kraft brands prefer the natural uncoated look.
How to order a glossy mailer
A clear brief saves rounds of revisions. Tell us early which finish you want, so the proof reflects it.
- Pick lamination or aqueous coating based on your budget and look.
- Choose white, black or another base color for the board.
- Send your artwork and note any Pantone colors.
- Decide on foil, spot UV or embossing extras.
- Review the free digital proof and request changes.
- Approve, then plan your packing date around delivery.
Mistakes with glossy finishes
The most common mistake is choosing full gloss and spot UV together. The spot effect disappears into the overall shine.
Another is putting gloss on pale pastel art and expecting a big change. Soft colors can look slightly washed under strong shine.
Some brands also forget glare when planning photography. Test your lighting before a product shoot.
Last, check what our policy covers before you rely on it. The return policy for misprinted orders covers print faults and damage, not a change of mind about shine.
Proof, timing and delivery
Our free proof notes the finish on every panel. You can change it, or anything else, as often as you need before printing.
Laminated and coated boxes are printed and finished within 4 to 6 business days of sign-off. They reach you 2 to 3 business days later, with free freight to the US, UK, Canada and Australia.
Glossy mailers start from $0.30 per unit, and the finish you pick is part of the final quote. Send your art through the design your box page to begin.